Introduction
Setting up dual monitors on Windows 10/11 can significantly enhance your productivity by providing more screen space for multitasking. Whether working, gaming, or managing multiple applications, using two monitors allows for a seamless and efficient workflow.
In this quick guide, we'll walk you through the steps to connect, configure, and set up Dual monitor, making it easy to extend your display and optimize your workspace.
Dual monitor: What is it?
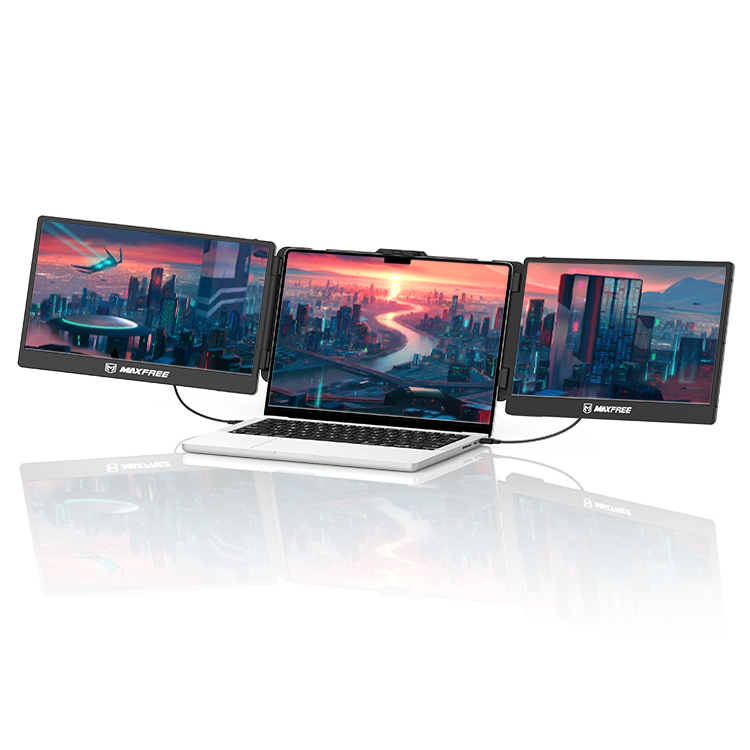
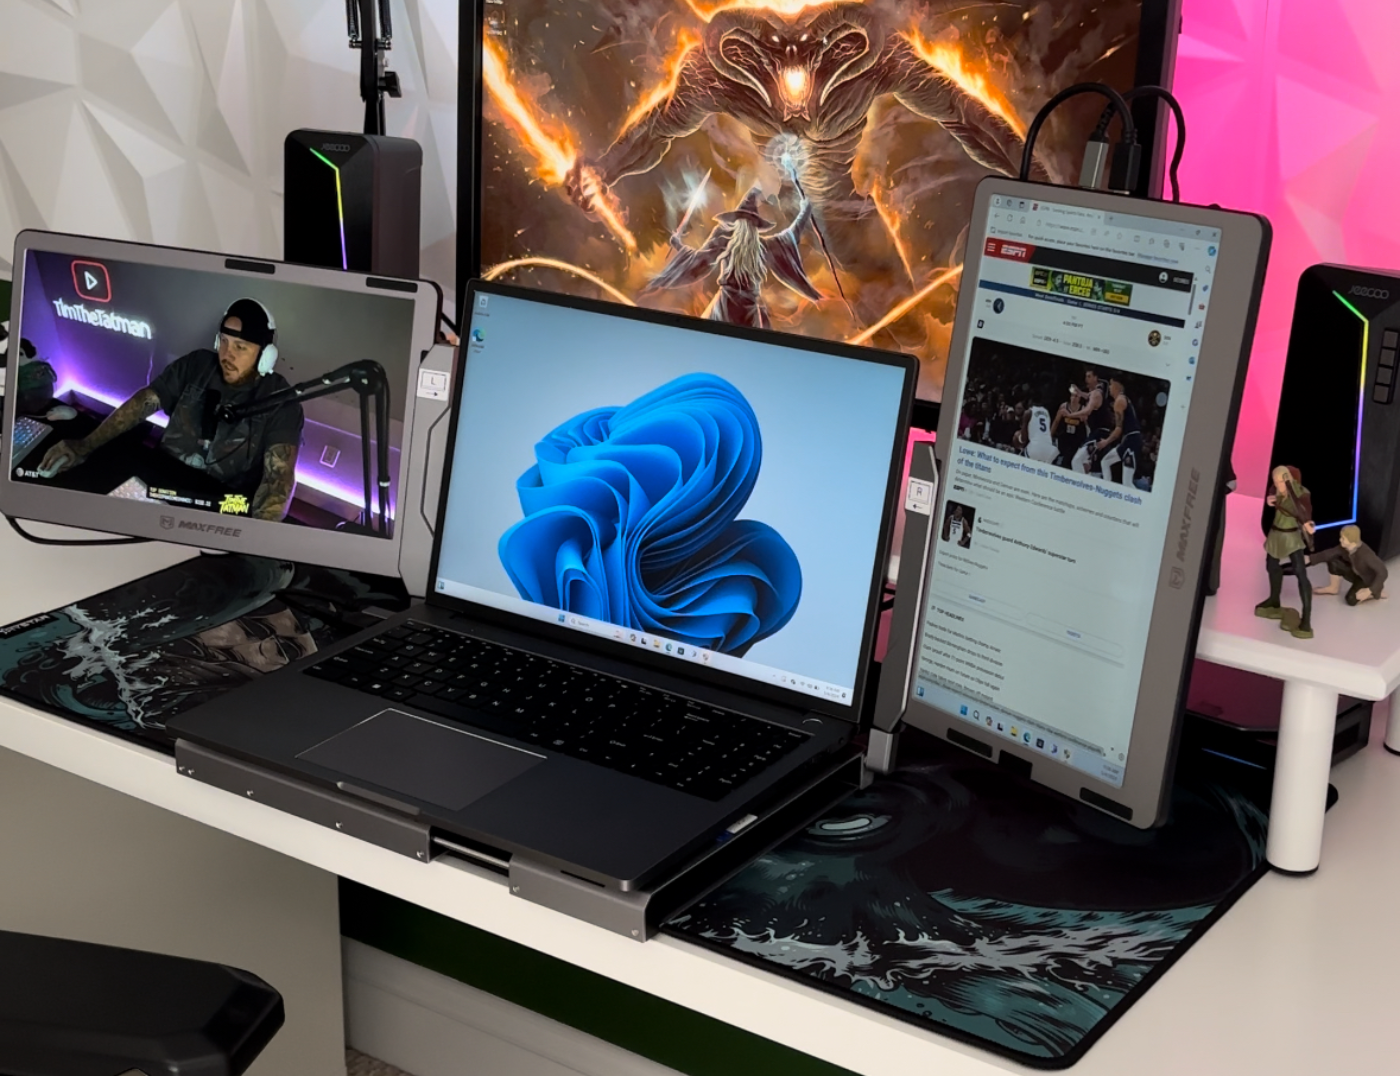
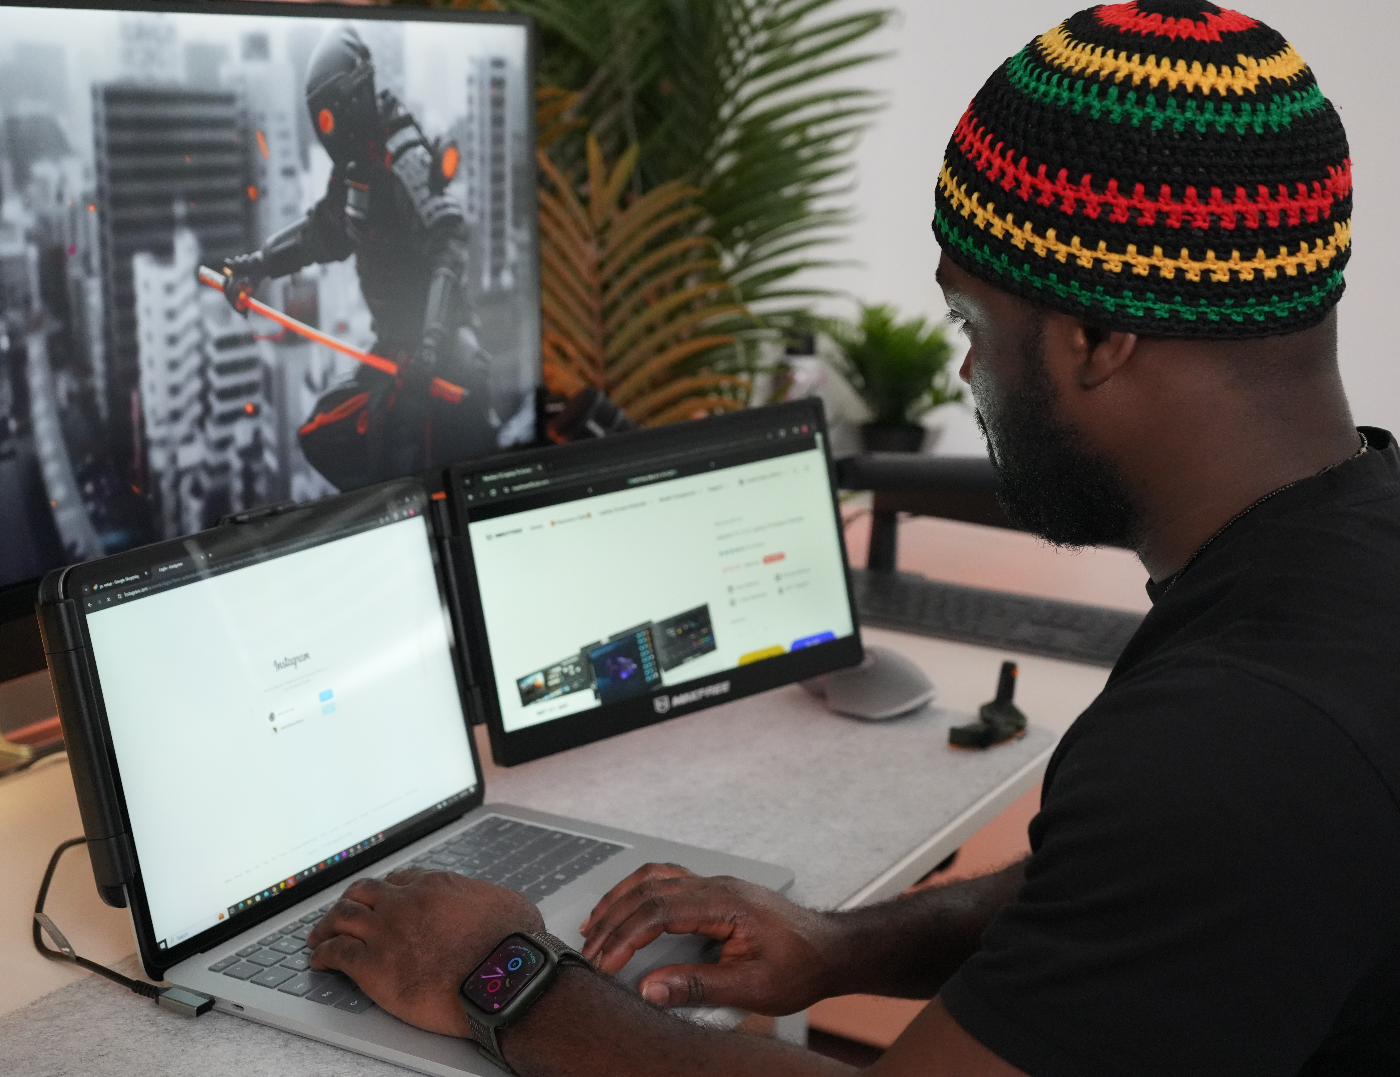
A dual monitor setup involves using two computer screens simultaneously with a single computer system. This configuration allows users to extend desktop capabilities across both screens, providing a larger workspace.
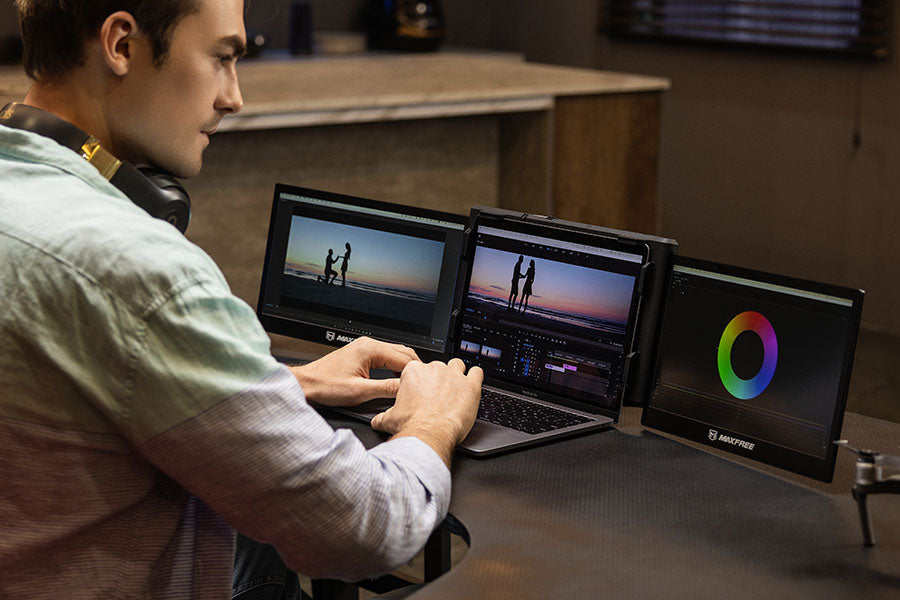
Multiple monitors are handy for multitasking. They enable users to view and manage various applications or documents side-by-side without constantly switching between tabs or windows. This setup is popular among professionals, gamers, or someone looking for improvements in their productivity and efficiency.
Set Up Dual Monitor: Benefits
Setting up a dual monitor connection or configuration improves efficiency, facilitating multitasking and creating a flexible and productive workspace. There are multiple benefits it has to offer, such as;
- Increase productivity as with a second screen; you can access multiple documents or information simultaneously.
- Improved multitasking as dual monitors allow you to run several programs at once.
- Enhanced gaming experience with access to game-related information, like walkthroughs or chat windows, open on the secondary monitor.
- Improved Organization allows you to dedicate each screen to different types of content or multiple editing tools.
- With a seamless workflow, like display configuration, managing complex workflows, especially in programming, graphic design, video editing, and data analysis, becomes easy.
Setting up dual monitors on Windows 10/11: How to Proceed?
Setting up dual monitors on Windows 10/11 can make your user experience smooth and level up your productivity. Here's a step-by-step guide to help you proceed:
Step 1: Connect your monitors using an HDMI cable or DVI cable powering on both monitors.
These are the most common video output ports.
Step 2: Open display settings by right-clicking on the screen and selecting Display settings or tapping on Settings -> System-> Display.
Windows will automatically detect the connected monitors, or you can manually do it by tapping on the 'Detect' button. Then click on the 'Identify' option.
Step 3: Drag and drop monitors to match their physical arrangement. Now tap on 'Multiple Displays' and choose from;
- Duplicate displays
- Extend displays
- Show only screen 1
- Show only screen 2
Tap on Apply.
Note: Alternatively, you can right-click on the taskbar and use Taskbar settings >turn on Multiple displays.
Step 4: Opt for the main display by tapping on its number and check the "Make this my main display" box. It will be the primary monitor.
Step 5: Adjust resolution and scaling under Scale and Layout option.
Step 6: Tap on Apply to save changes.
If my computer doesn't detect the second monitor: What to Do?
If your computer isn't detecting the secondary monitor, there are some troubleshooting tips to follow to resolve the issue:
#Check Cable Connections or change ports:
Double check connectivity of cables with computer and monitor and whether all ports are working. Also, check the manufacturer's details about the version of the DisplayPort cable.
#Detect Displays Manually:
Make a right- tap on the desktop and opt for "Display settings." Scroll down and tap the "Detect" button under the "Multiple displays" section to prompt Windows to find the secondary monitor.
#Restart Your Computer:
A simple restart can sometimes fix laptop monitor detection issues by refreshing the system's hardware recognition.
#Update Graphics Drivers:
Go to Device Manager > Display adapters, right-click on your graphics card, and select "Update driver". Alternatively, visit the manufacturer's website for downloading and installation of graphics card drivers.
#Run Hardware Troubleshooter:
From the Windows taskbar, open Settings > Update & Security > Troubleshoot. To identify and fix any issues opt for running troubleshooting for 'Hardware and devices'.
Using different resolutions on each monitor: Is it possible?
Yes, it is possible to use different resolution settings
on each monitor in a dual monitor setup as Windows 10/11 allows you to customize the resolution for each connected display independently, ensuring that each monitor operates at its optimal resolution.
Here's how you can set different resolutions for each monitor:
Step 1: Open display settings by tapping right on the desktop.
Step 2: Once you see monitor 1 and 2 on screen make required changes in resolution by selecting any monitor.
Step 3: Now tap on the Scale and Layout option and tap on display resolution to select the desired resolution for the monitor.
Step 4: Tap on Apply to make changes live.
Different wallpaper on dual monitors: Is it Possible?
Yes, it is possible to set different wallpapers on dual monitors. Windows 11 provides built-in options for customizing each monitor's wallpaper, enhancing your desktop experience.
However, for a detailed guide on how to do this, learn from and refer to this page.
Use a Laptop as a Monitor: Can I Do That?
You can use a laptop as a monitor, which is especially useful for expanding your screen real estate or creating a dual monitor setup. This process can be done using various methods, including built-in Windows features and third-party software. For intricate instructions, you can refer to this page.
Conclusion
Setting up dual monitors on Windows 10/11 is straightforward and significantly enhances Productivity and multitasking capabilities. Following the steps outlined, you can easily configure your display settings and enjoy an expanded workspace.
With dual monitors, you can efficiently manage multiple tasks and improve your overall computing experience. So leap by and get a dual monitor connection to maximize your efficiency and streamline your workflow!


Leave a comment
This site is protected by hCaptcha and the hCaptcha Privacy Policy and Terms of Service apply.